I ain't afraid of no ghosts.*
In fact, I love ghosts. And costumes. And Halloween.
And with Halloween comes decorations. Or at least it does at this house. Or this cabin.
Because this year's decorating budget is less than zero and all of my real Halloween decorations are in Texas, I had to get creative. It is so true that necessity is the mother of invention.
And poverty is the father of decorating on the cheap!
What did I have to work with?
Three tiny pumpkins that I actually harvested myself back when I volunteered with Colorado Farm to Table. Some card stock in black and white plus some twine. A straw pumpkin leftover from last year. I looked for pinecones but had to settle for seed pods. Some pumpkin candles. Three smallish frames. And an empty Ball Mason jar.
What did I go buy? Two squashes and a couple of larger pumpkins. A $3.00 felt Halloween banner from Target.
And what did we end up with?
A wonderfully festive mantel.

Ghosts guarding the kitchen.

And B-O-O propped on a ledge.

Aren't you jealous?
Want to know how to make your own garlands?
It is so easy peasy I even made a ghost one to send to Belle in Florida.
The Ghost Garland requires twine, white card stock and a small hole punch. (Or something to make holes for stringing.)
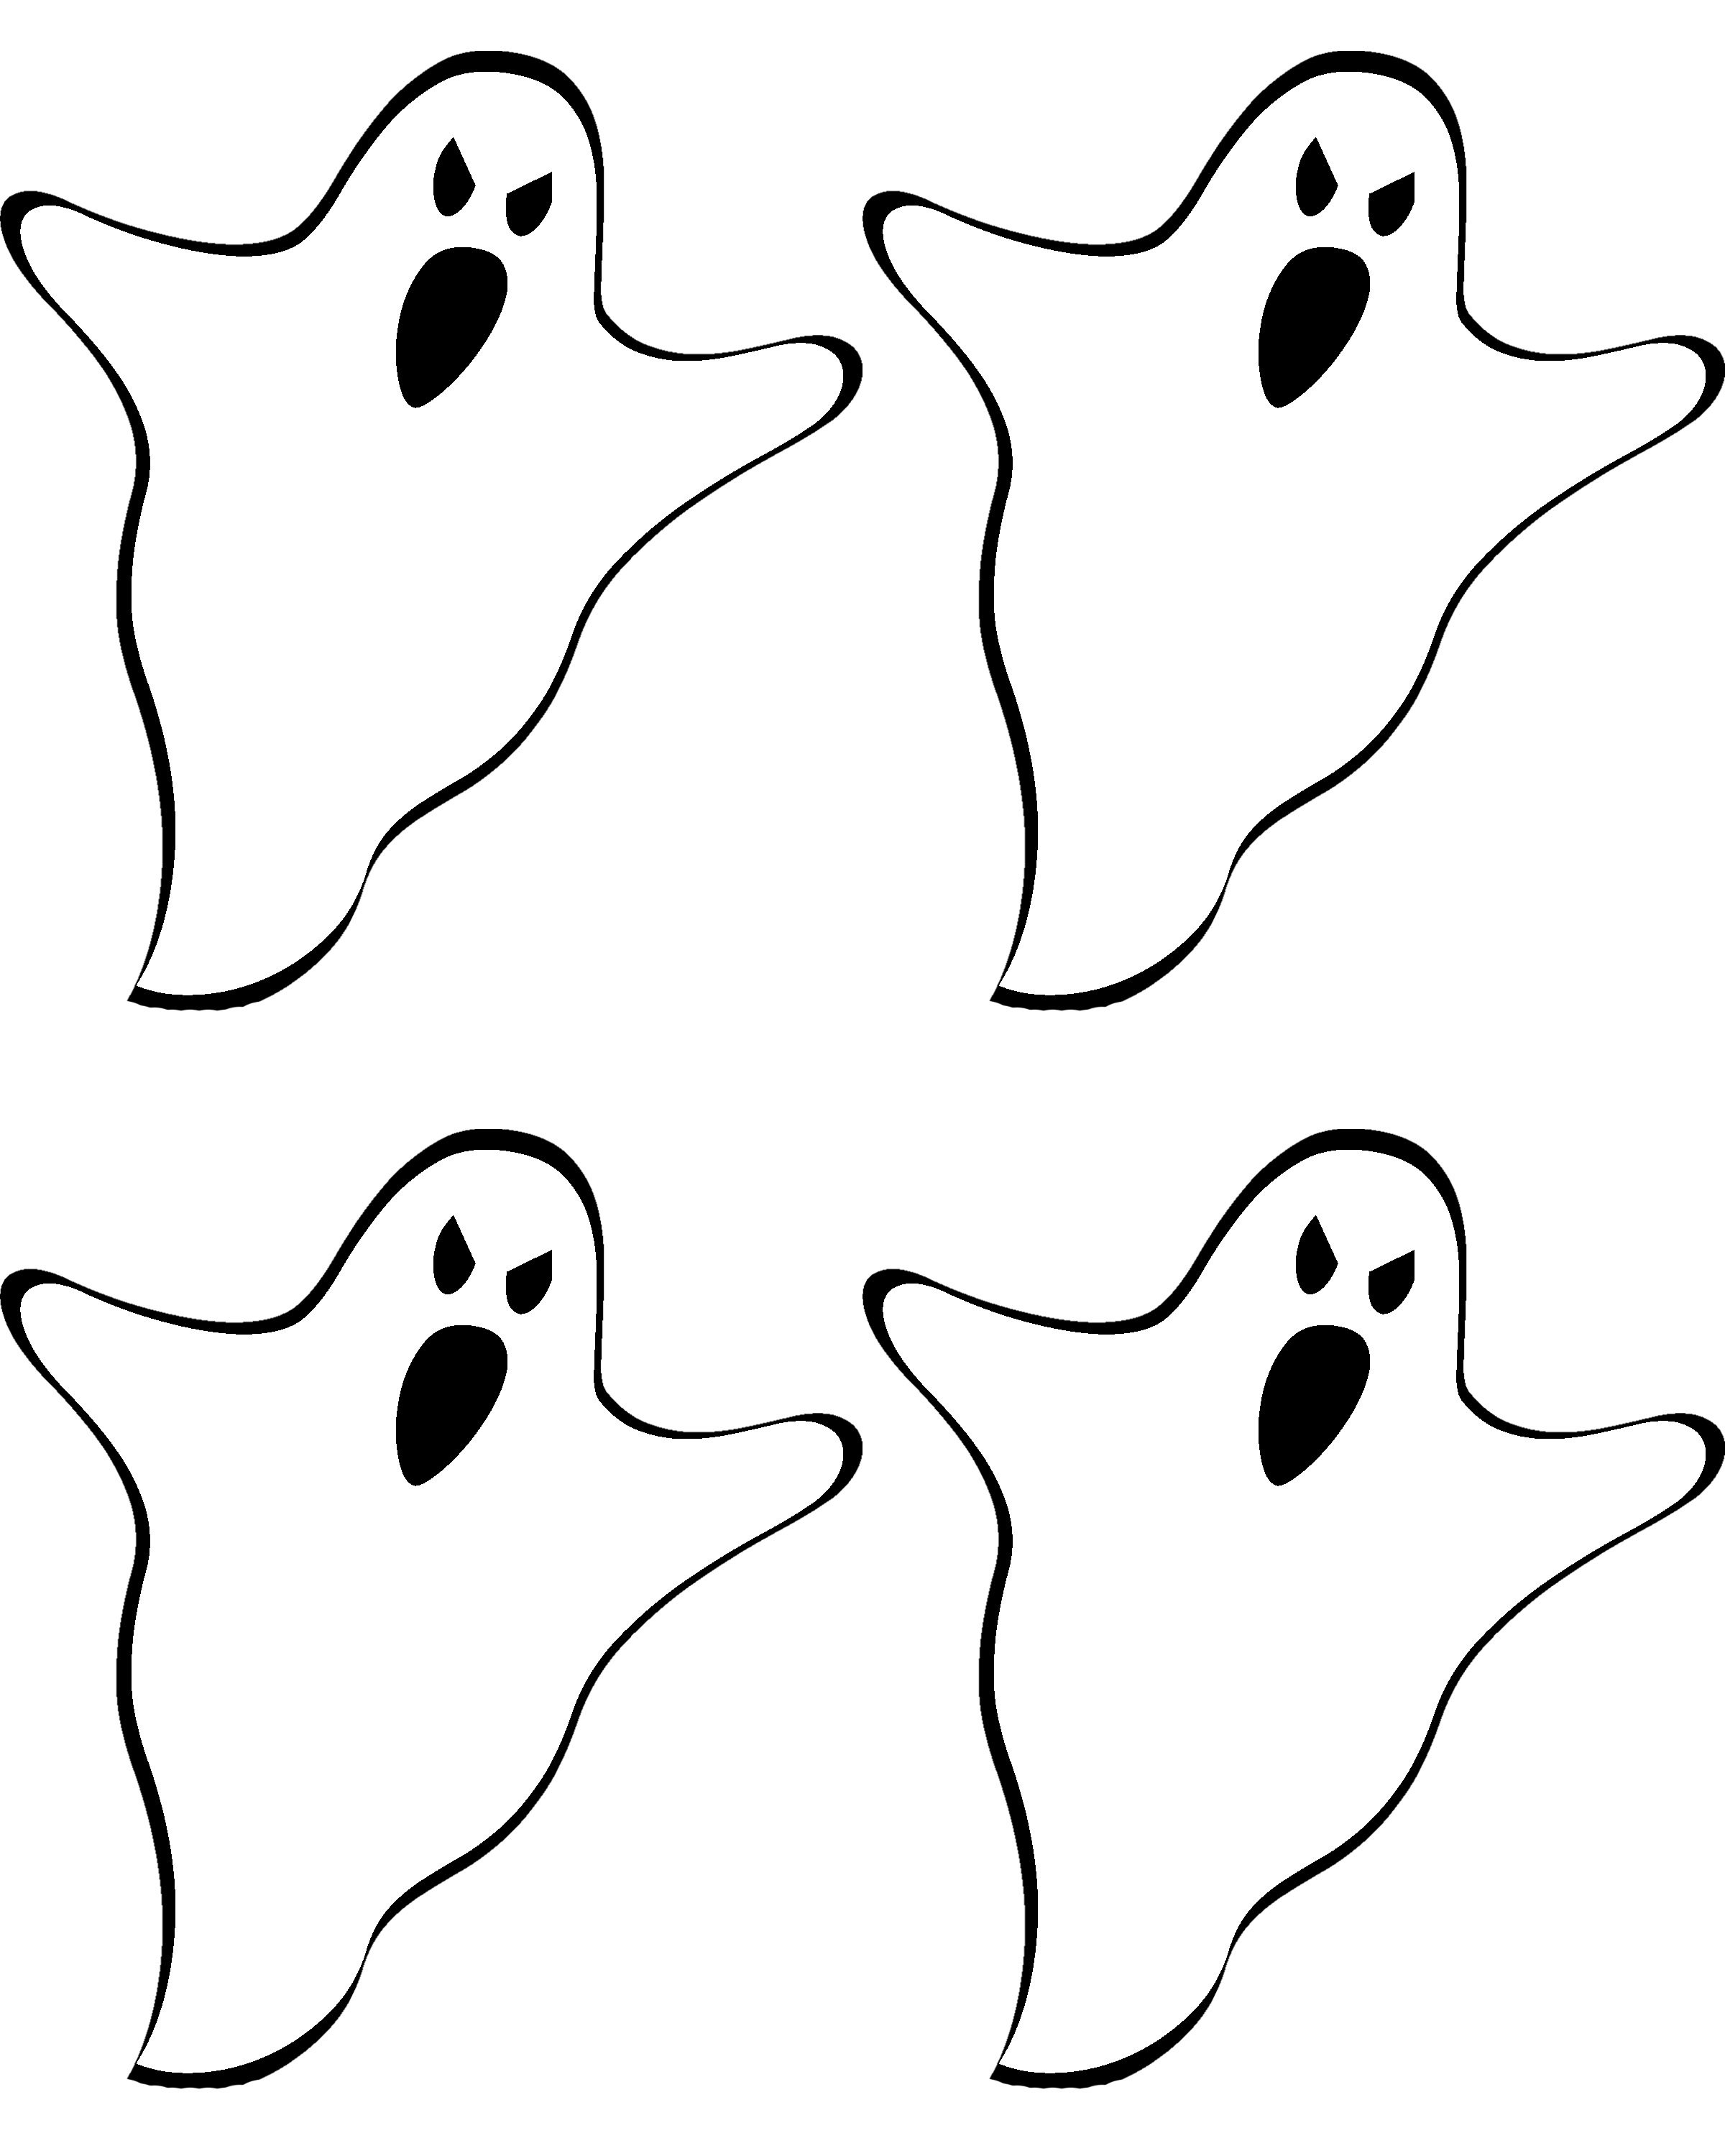
Search ghost images online or you can just use the one I found:
http://lizoncall.com/wp-content/uploads/2014/08/Happy-Haunting-Ghost-Banner.jpg
from the blog Liz On Call.
Print out three sheets of the 4 to a page ghosts on white card stock.
Then I enlarged to 150% and printed two sheets of 2 to a page ghosts.
Enlarge again to 175% and print one large ghost.
When you enlarge, you may have extra ghost parts on your pages so make sure you just print PAGE ONE only.

Then plop down in front of your favorite TV show and cut out all your ghosts. Punch holes in the top of their little heads. Cut a length of twine about 8 feet long. Tie a loop at one end.
Arrange your ghosts like so :
6 small ghosts, 2 medium ghosts, 1 large ghost, 2 medium ghosts and 6 small ghosts.
String them in that order and tie off a loop at the other end.
Done!
The Bat Garland requires a sewing machine in addition to black card stock.
Again, search bats online to find a template. I used this one:
http://www.madebymarzipan.com/wp-content/uploads/2012/09/bat.pdf
from Made by Marzipan. (She used hers for felt bats, mine are just card stock.)
Print out one bat, cut it out and then trace around that bat onto your black card stock.
Trace as many bats as you want, then cut them out. I had 13 bats, some a little smaller than others.
Get out your trusty sewing machine and, leaving a tail of thread, start sewing at the end of one wing, all the way across the bat body to the other wing and then once you are off the wing, let the machine keep stitching for about an inch. Add another bat, stitch all the way across allowing the machine to make some extra stitches again at the end.

Yes, you can sew through card stock.
Continue sewing your bats in a row until all of them are attached. Leave another tail of thread at the end.
Voila! A bat garland.
The framed B-O-O just required some small empty frames and white card stock.
Using Microsoft Word I started with a blank document and picked the scariest fonts I could find.
The only real trick here is to space the letters apart enough to give you room to frame them.
Also, I may be the only person in the world that did not know this, but if you can't get the font large enough, you can just type in your own number for font size. As in my font only goes up to 72 points but I wanted 100 points. Type 100 in that font size box and there you go.
My final project was the flower arrangement.

Have a deadly time decorating.....
*Ghostbuster lyrics
No comments:
Post a Comment